Hello, is there anybody there?
I know I've been off the blog for a while. It seems I only post at this time of year.
Probably because I've had a break from work and I've got time to write.
Note to self......MAKE MORE TIME FOR MY BLOG!!
I do love the blog, and I love looking at other blogs, so I really should do more.
First off, Happy New Year :)
Here's the new issue of Craft Stamper for January 2019!


There's an amazing giveaway of Kate Crane's Fiesta Stencil by Carabelle Studio, this is a great stencil, so if you don't have it, get yourself entered into the prize draw!
Here are some close ups of my project, until next week :)


I've had a busy crafty year, so here are some more pics :)
December 2018


August 2018 Craft Stamper Magazine


June 2018 Craft Stamper Magazine


Art from the Heart - Brush Lettering Christmas Card Class
November 2018

Just some Brush lettering practice :)

Art from the Heart - October 2018-
Are you a good witch or a bad witch, mixed media canvas and brush lettering.

Art from the Heart - Brush Lettering class, September 2018 - Word Cloud
Everyone made amazing heart word clouds!


More Practice of Brush Lettering :) during the summer


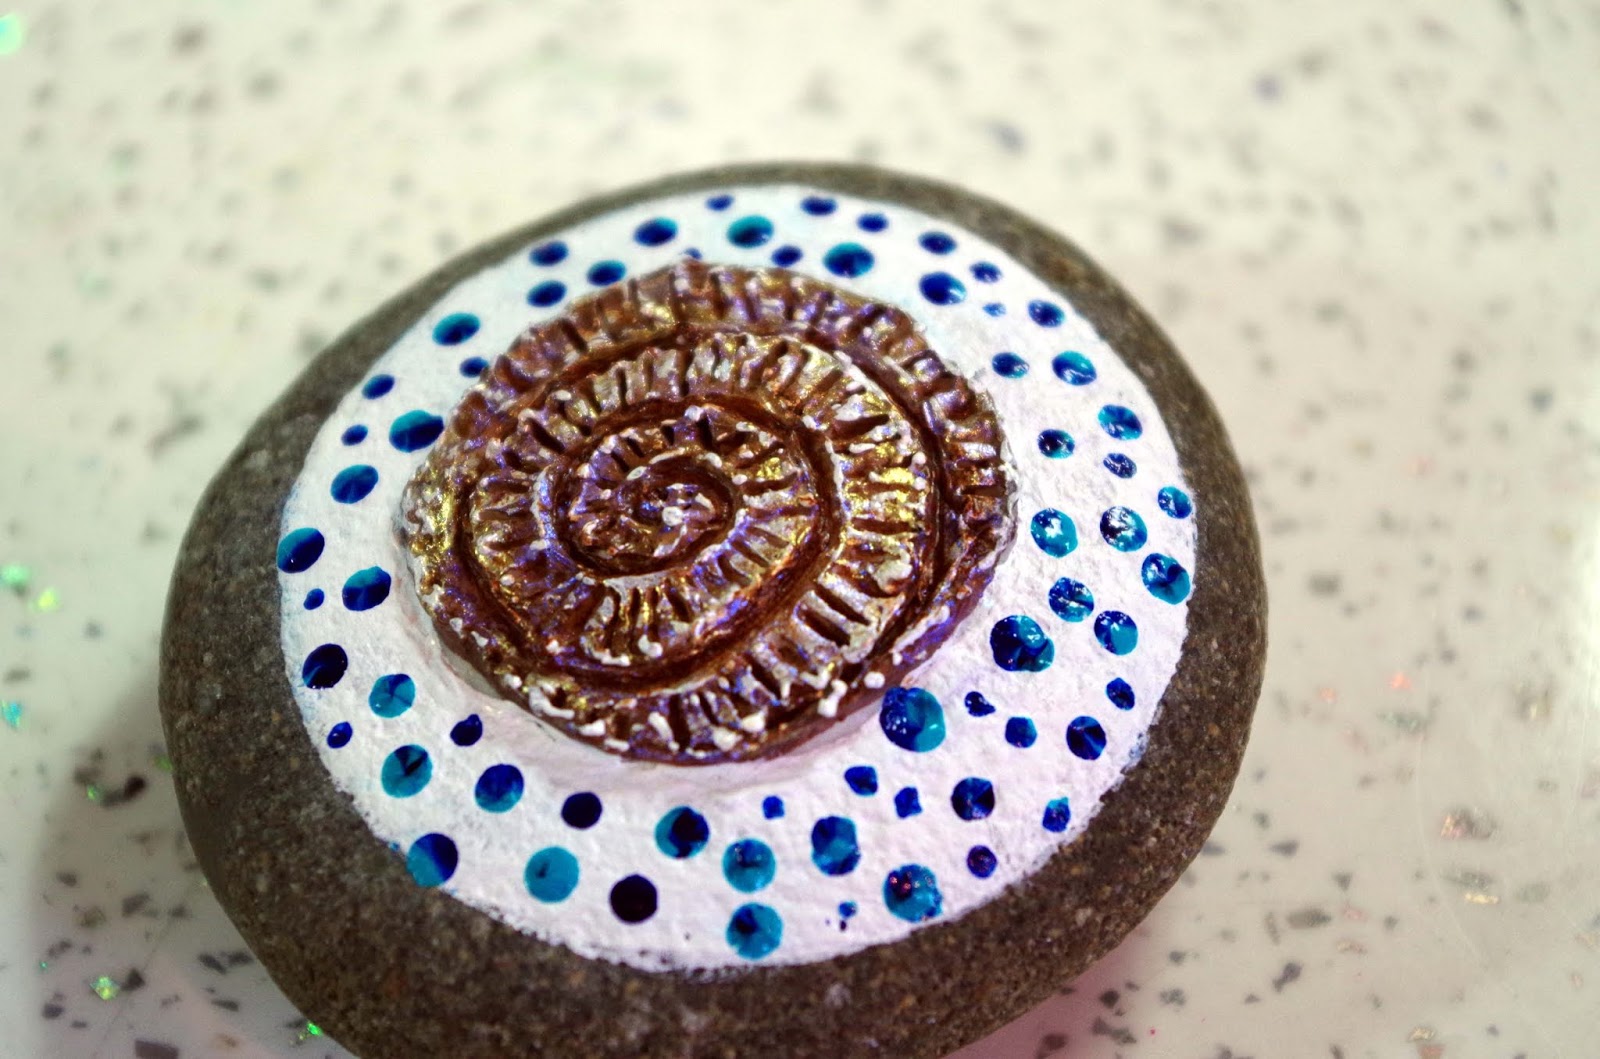
Art from the Heart Rock Painting class July 2018

This rock painting class, was one of the most enjoyable classes I've done, and I will definitely be doing another one! :)
Happy New Year Everyone.
Be back soon xx